
The best hardwood for radiant heat is not a single product, but a complete material system designed for thermal harmony and long-term performance.
- Engineered wood offers superior stability due to its cross-ply construction, making it a safer default choice for wide planks over radiant heat.
- Solid hardwood provides unmatched longevity and refinishing potential, but requires careful selection of species, cut, and meticulous humidity control.
Recommendation: Prioritize engineered hardwood for its stability and ease of mind, but consider premium, quartersawn solid wood if you are committed to managing its environment for heirloom-quality longevity.
Choosing a wood floor to lay over radiant heat is one of the most consequential decisions a homeowner can make. The common advice often simplifies the debate to a single point: engineered wood is stable, solid wood is not. While there is truth to this, it misses the soul of the matter. As craftsmen, we don’t just see two products; we see two distinct approaches to creating a living, breathing surface that will interact with heat and moisture for decades. The choice isn’t merely about preventing gaps; it’s about curating a material’s character and ensuring its graceful aging.
The real question goes beyond simple compatibility. It delves into the very substance of the floor. How will it affect your home’s air quality? How many times can it be renewed to erase the marks of time? How will it feel and sound underfoot? This decision is about crafting a complete material system—from the species of wood and the way it’s sawn, to the underlayment that separates it from the subfloor and the finish that protects its surface. It’s about achieving a state of thermal harmony, where the floor and heating system work in concert, not against each other.
This guide moves past the platitudes. We will dissect the material integrity of each option, explore their long-term value, and understand the subtle forces of humidity and wear. By the end, you will be equipped not just to choose a product, but to design a flooring system that delivers warmth, beauty, and enduring value for generations.
To navigate this complex decision, we will explore the critical factors that define a floor’s performance over radiant heat, from its impact on indoor air quality to its ability to withstand daily life and be renewed for the future. This comprehensive overview will provide the clarity needed to make a choice rooted in craftsmanship and long-term satisfaction.
Summary: Engineered vs. Solid Hardwood for Radiant Heat
- Why Switching to Hardwood Reducing Allergy Symptoms in Children by 40%?
- How to Sand and Refinish Vintage Hardwood Floors Without Ruining Them?
- Oak vs Walnut: Which Wood Species Resists Pet Scratches Better?
- The Mop Mistake That Causes Cupping in Hardwood Floors Within a Year
- How to Maintain Constant Humidity Levels to Stop Your Floor from Shrinking?
- Cork vs Rubber Underlayment: Which Stops Footstep Noise Better?
- The “Break-In” Period That Makes Linen Softer Than Cotton Over Time
- How to Achieve Studio-Grade Silence in a City Apartment Without Rebuilding Walls?
Why Switching to Hardwood Reducing Allergy Symptoms in Children by 40%?
The conversation about flooring and health often begins with allergens like dust and pet dander, which hardwood naturally minimizes. However, with radiant heat, the discussion must go deeper to include Volatile Organic Compounds (VOCs). When a floor is heated, the emission of any chemicals used in its manufacturing can accelerate. This is a critical distinction between solid and engineered wood. Solid wood is a simple, natural material with minimal processing. In contrast, engineered wood is a composite of wood veneers bonded together with adhesives, which can be a source of VOCs like formaldehyde.
Fortunately, the industry has made significant strides. High-quality manufacturers now produce engineered flooring with zero-VOC finishes and formaldehyde-free adhesives. However, the burden of verification falls on the homeowner. Lower-quality imports can contain adhesives with significant emissions. For instance, recent emission testing reveals that A+ rated solid wood flooring may emit as little as 15 micrograms of VOCs per cubic meter, while the acceptable threshold can be as high as 1000 micrograms. This makes choosing a certified low-VOC product, like those from manufacturers such as From The Forest that are CARB Phase II compliant, absolutely essential for maintaining healthy indoor air quality.
The best approach is to demand transparency. Ask for third-party lab emission test reports and look for certifications like EPA TSCA Title VI. A floor is a massive surface area within your home; ensuring it contributes to a clean, non-toxic environment is the first step in responsible material selection, especially when heat is involved.
Ultimately, a healthy home is built on informed choices, and understanding the material composition of your floor is paramount.
How to Sand and Refinish Vintage Hardwood Floors Without Ruining Them?
A floor’s true value is measured not just in its initial beauty, but in its capacity for renewal. This is where solid and engineered hardwood diverge most dramatically. A solid hardwood floor, typically 19mm (3/4 inch) thick, is a single piece of timber. Its entire thickness above the tongue and groove is a “wear layer” that can be sanded and refinished many times over its life. This allows the floor to be completely reborn, erasing decades of wear. A well-maintained solid wood floor can last for a century or more, making it an heirloom asset.
Engineered hardwood, by contrast, has a finite lifespan determined by its top veneer. This layer of real wood can range from a paper-thin 1mm to a more substantial 6mm. A floor with a thin veneer may not survive even one sanding, while a high-quality engineered plank with a thick veneer might be refinished two or three times. When considering radiant heat, this becomes even more critical. Deep sanding on a solid wood floor could damage embedded heating elements if they are too close to the surface, whereas the limited refinishing of engineered wood poses a different kind of risk: a shorter overall life for the floor.
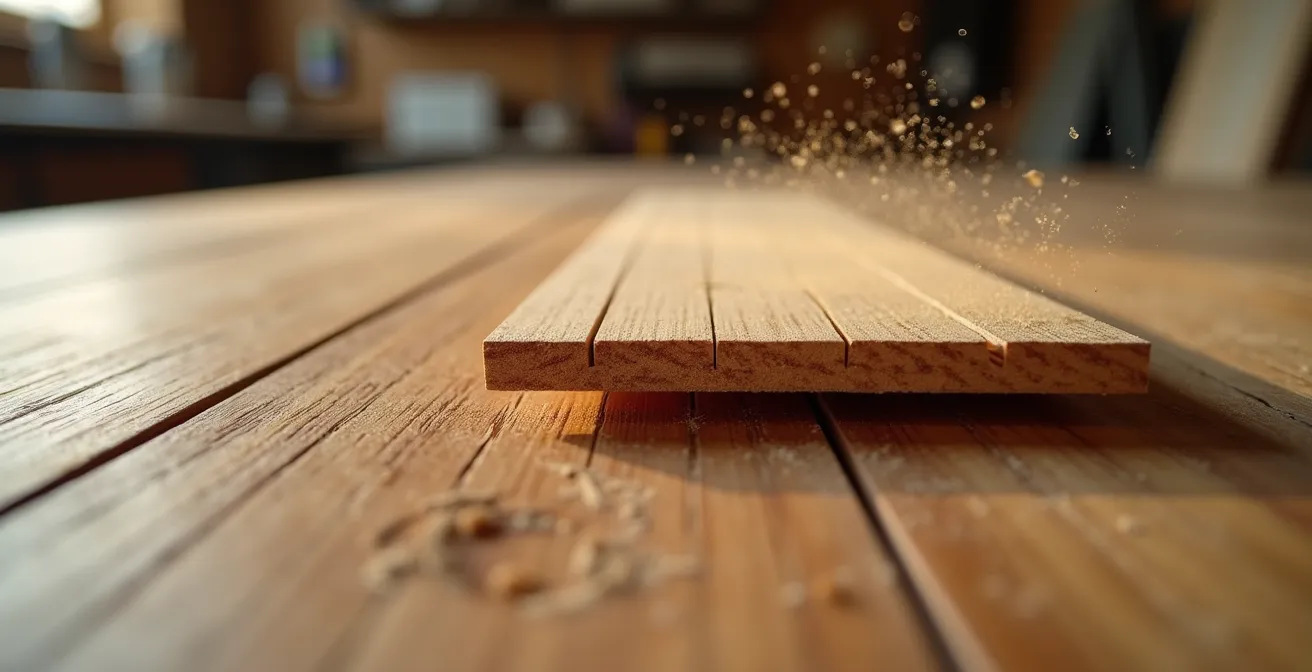
The image above clearly illustrates the difference. The refinishing potential of solid wood is vast compared to the thin wear layer of its engineered counterpart. This longevity is a key factor in its long-term value proposition. Choosing solid wood is an investment in permanence, while choosing engineered wood is often a compromise for stability and initial cost, with the understanding that the floor will likely need replacement rather than renewal in 20-30 years.
The following table breaks down the refinishing potential of each flooring type, a crucial consideration for long-term homeowners.
| Feature | Engineered Wood | Solid Wood |
|---|---|---|
| Veneer Thickness | 2mm-6mm typical | Full thickness (19mm) |
| Number of Refinishes | 1-3 times (thick veneer) | 5-7+ times |
| Risk with Electric Radiant | Moderate (thin veneer) | High (deep sanding) |
| Recommended Method | Chemical stripping for thin veneers | Traditional sanding |
| 30-Year Cost Analysis | Higher replacement cost | Lower per-refinish cost |
This trade-off between stability and longevity is the central dilemma for any homeowner considering wood floors with radiant heat.
Oak vs Walnut: Which Wood Species Resists Pet Scratches Better?
While Janka hardness ratings are often cited as the definitive measure of a wood’s durability, a craftsman knows that a floor’s ability to “gracefully age” is more nuanced, especially over radiant heat. It’s not just about resisting scratches, but about how the floor hides the inevitable signs of life. Here, the choice of species, cut, and finish forms an integrated system of resilience.
For radiant heat applications, dimensional stability is paramount. Wood species that are less prone to expansion and contraction with changes in temperature and humidity are ideal. Oak, particularly White Oak, is a classic choice for this reason. It has a moderate density that allows for good heat transfer and a prominent, open grain pattern that is excellent at camouflaging minor scratches and dents from pets or daily activity. Walnut, while beautiful, is softer and has a finer grain, which means scratches may be more noticeable.
However, the cut of the wood is arguably more important than the species. Quartersawn or riftsawn boards are significantly more dimensionally stable than more common plainsawn boards—up to 40% more stable. This cut orients the wood grain vertically, minimizing movement across the board’s width. For solid hardwood over radiant heat, specifying quartersawn is one of the most effective strategies for ensuring long-term performance. For engineered options, this cut is often used for the top veneer on premium products for the same reason. A rustic-grade wood with more natural variations, knots, and color changes will also be far more forgiving of wear than a clear, uniform grade.
Finally, a low-sheen, matte, or wire-brushed finish will diffuse light and make wear far less apparent than a high-gloss finish, completing the system for a floor that looks beautiful not just on day one, but for years to come.
The Mop Mistake That Causes Cupping in Hardwood Floors Within a Year
The greatest threat to a hardwood floor, especially one with radiant heat, is not wear but moisture. When a floor is heated, its relationship with water changes dramatically. The most common and damaging mistake is cleaning with a traditional wet mop. On a heated floor, this creates a “flash evaporation” effect. The warmth of the floor rapidly turns the surface water into water vapor, which can be forced down into the seams between boards and into the wood itself. This can lead to cupping, where the edges of the planks swell and rise higher than the center.
This subtle warping is often the first sign of moisture damage. Over time, it can become permanent, ruining the smooth, flat plane of the floor. The damage is insidious because it doesn’t happen overnight. It is the cumulative effect of repeated, improper cleaning cycles. A single spilled glass of water cleaned up immediately is far less dangerous than the weekly ritual of mopping with too much water.
The only correct way to clean a hardwood floor, heated or not, is with a barely-damp microfiber mop. The mop should be spritzed with a pH-neutral cleaner, never soaked. It is also crucial to wait for the heating cycle to end and the floor to cool to room temperature before cleaning. This prevents the flash evaporation that drives moisture deep into the wood’s pores. Proper cleaning isn’t just about aesthetics; it is the single most important maintenance task for preserving the structural integrity and longevity of your investment.
Neglecting this simple discipline is the fastest way to compromise the entire flooring system.
How to Maintain Constant Humidity Levels to Stop Your Floor from Shrinking?
Wood is a hygroscopic material, meaning it naturally absorbs and releases moisture to stay in balance with its environment. This process causes it to expand in humid conditions and shrink in dry conditions. Radiant heat introduces a powerful drying effect, making humidity control non-negotiable for the health of your floor. Without it, the wood will lose moisture too quickly, leading to shrinkage, gapping between boards, and even surface cracks or “checks.”
The goal is to create a stable environment, a state of hygroscopic balance where the wood is neither gaining nor losing significant moisture. For most wood flooring, flooring experts recommend maintaining a relative humidity (RH) between 35% and 55% year-round, with 45% being ideal. Deviating from this range is the root cause of most seasonal floor problems. In the winter, when the heating system runs constantly and dries out the air, a whole-home humidifier is essential to add moisture back into the environment. In the summer, a dehumidifier or air conditioning is needed to remove excess moisture.
This is not a “set it and forget it” task. It requires active monitoring with a digital hygrometer. You should have several in your home to track conditions. Smart thermostats and humidifiers can automate this process, adjusting based on indoor and outdoor conditions to maintain the target RH. This diligence protects not only your floor but all the wood in your home, from furniture to millwork. It is the fundamental practice of stewardship for a home built with natural materials.
Action Plan: Seasonal Humidity Programming
- Winter: Set humidifier to maintain minimum 35% RH when heating runs frequently
- Spring/Fall: Monitor daily and adjust between 40-50% during transition periods
- Summer: Use dehumidifier to keep below 55% during high humidity periods
- Install hygrometer to track levels in multiple rooms
- Program smart controls to automatically adjust based on outdoor conditions
By treating your home’s air as an integral part of your flooring system, you ensure the wood remains stable and beautiful for its entire life.
Cork vs Rubber Underlayment: Which Stops Footstep Noise Better?
The underlayment is the unseen hero of a successful flooring installation over radiant heat. This thin layer serves multiple critical functions: it provides a degree of acoustic insulation, acts as a vapor barrier, and most importantly, influences how efficiently heat transfers from the system to your room. Choosing the wrong underlayment can cripple your radiant heat system’s performance or create unwanted noise.
The two key metrics for an underlayment are its R-value (thermal resistance) and its IIC rating (Impact Insulation Class). For radiant heat, you want the lowest possible R-value to allow heat to pass through easily. For acoustics, you want a high IIC rating to absorb the sound of footsteps. This often creates a trade-off. Standard foam underlayments may have high IIC ratings but also high R-values, making them a poor choice as they trap heat.
As the accompanying table shows, materials like cork and synthetic rubber offer a much better balance. Cork is a good natural insulator with decent acoustic properties, but it must be a thin, perforated version specifically designed for radiant heat to keep the R-value low. Some high-end synthetic rubber underlayments are the best of both worlds, offering excellent IIC ratings with extremely low R-values, making them ideal for maximizing both heat transfer and sound dampening. Some premium engineered floors even come with a factory-attached cork underlayment that has been tested for radiant compatibility.
This analysis, based on a comparative review of underlayment performance, highlights the importance of this choice.
| Underlayment Type | IIC Rating | R-Value | Radiant Heat Compatibility |
|---|---|---|---|
| Cork (3mm) | 50-60 | 0.28 | Good with perforations |
| Synthetic Rubber | 60-70 | 0.15 | Excellent – low R-value |
| Pre-attached Cork | 55-65 | 0.25 | Factory-tested for radiant |
| Standard Foam | 65-75 | 0.45 | Poor – blocks heat transfer |
The underlayment is not an accessory; it is a critical component of the material system that dictates efficiency and comfort.
The “Break-In” Period That Makes Linen Softer Than Cotton Over Time
A wood floor is not an inert object; it is a natural material that must acclimate to its environment. This is never more true than during its first year over a radiant heat system. This crucial time is known as the “seasoning period.” During the first heating season, the floor will undergo its most significant cycle of expansion and contraction as it adjusts to the new thermal stresses. How it is managed during this period will define its behavior for the rest of its life.
This concept is perfectly articulated by leading industry experts. As the artisans at Gaylord Hardwood Flooring state in their definitive guide:
The first winter with radiant heat defines the floor’s lifelong behavior – the wood undergoes its most significant expansion and contraction cycle during this critical seasoning period.
– Gaylord Hardwood Flooring Experts, Hardwood Flooring over Radiant Heat Guide
During this first year, it is vital to bring the heat up slowly and incrementally at the start of the season and to be extra vigilant about maintaining the 35-55% humidity range. This allows the wood to “learn” its new environment gradually, minimizing the risk of dramatic gapping or cupping. While engineered hardwood is more forgiving due to its stable construction, it also benefits from this gentle introduction. Some homeowners prefer engineered floors with distressed or hand-scraped textures because they provide an “already broken-in” look from day one, making any minor movements during this period virtually invisible.
This patient, craftsman-like approach treats the wood as the living material it is, ensuring it settles into a state of long-term equilibrium and beauty.
Key Takeaways
- The choice is not simply “engineered vs. solid,” but about designing a complete system for thermal and hygroscopic balance.
- Long-term value depends on refinishing potential, where solid wood excels, but this must be weighed against the superior stability of engineered wood.
- Active, year-round humidity control between 35-55% RH is non-negotiable to prevent gapping and cupping in any wood floor over radiant heat.
How to Achieve Studio-Grade Silence in a City Apartment Without Rebuilding Walls?
A floor’s performance is not just about how it looks, but also how it sounds. In multi-family dwellings like apartments or condos, managing impact noise—the sound of footsteps, dropped objects, or moving furniture—is a primary concern. A poorly chosen flooring system can transmit these sounds to the unit below, creating acoustic problems. Fortunately, a properly designed system can deliver studio-grade silence.
The most effective strategy is to create a “floating floor” system, which decouples the flooring from the building’s structure. This is typically done with a click-lock engineered hardwood floor laid over a high-performance acoustic underlayment. This combination can be remarkably effective; in fact, acoustic studies demonstrate that floating engineered floors with a high-IIC underlayment can reduce impact noise transmission by up to 70%. The key is choosing an underlayment that pairs a high IIC rating with a low R-value, ensuring you don’t sacrifice thermal performance for silence.
Beyond the floor itself, attention must be paid to the perimeter. Sound can travel through gaps where the floor meets the wall, a phenomenon known as “flanking noise.” Sealing this perimeter with a flexible acoustical sealant before installing baseboards is a critical final step. By combining a floating floor, a high-performance underlayment, and proper sealing, you can create a flooring system that provides warmth, beauty, and tranquility.
Checklist: Your Sound Isolation Audit
- Points of contact: Identify all paths for sound transmission, including floor-to-wall gaps and penetrations for pipes.
- Collecte: Inventory your current or planned materials. Is it a floating click-lock system or a nail/glue-down installation? What are the IIC and R-value ratings of your chosen underlayment?
- Coherence: Does your underlayment choice support or hinder your radiant heat system? A high R-value is a red flag.
- Mémorabilité/émotion: Does the system address the primary goal? For silence, a high IIC is paramount. For heat, a low R-value is key. Find the best balance.
- Plan d’intégration: Ensure your installation plan includes decoupling (floating floor) and sealing (acoustical caulk at perimeters) to address all noise pathways.
The final step is to put this knowledge into practice. By carefully selecting each component of your flooring system—from the wood itself to the underlayment and installation method—you are not just installing a floor; you are crafting a permanent, high-performance element of your home.